Heat Pump Installation Process in Ireland: A Step-by-Step Guide for Homeowners
From the first site survey to the first bill after switching on, a heat pump installation in Ireland involves a specific sequence of steps. This guide walks you through the entire process so you know exactly what to expect and how to prepare.
By Smart Solar Editorial · Updated 15 May 2026 · 9 min read
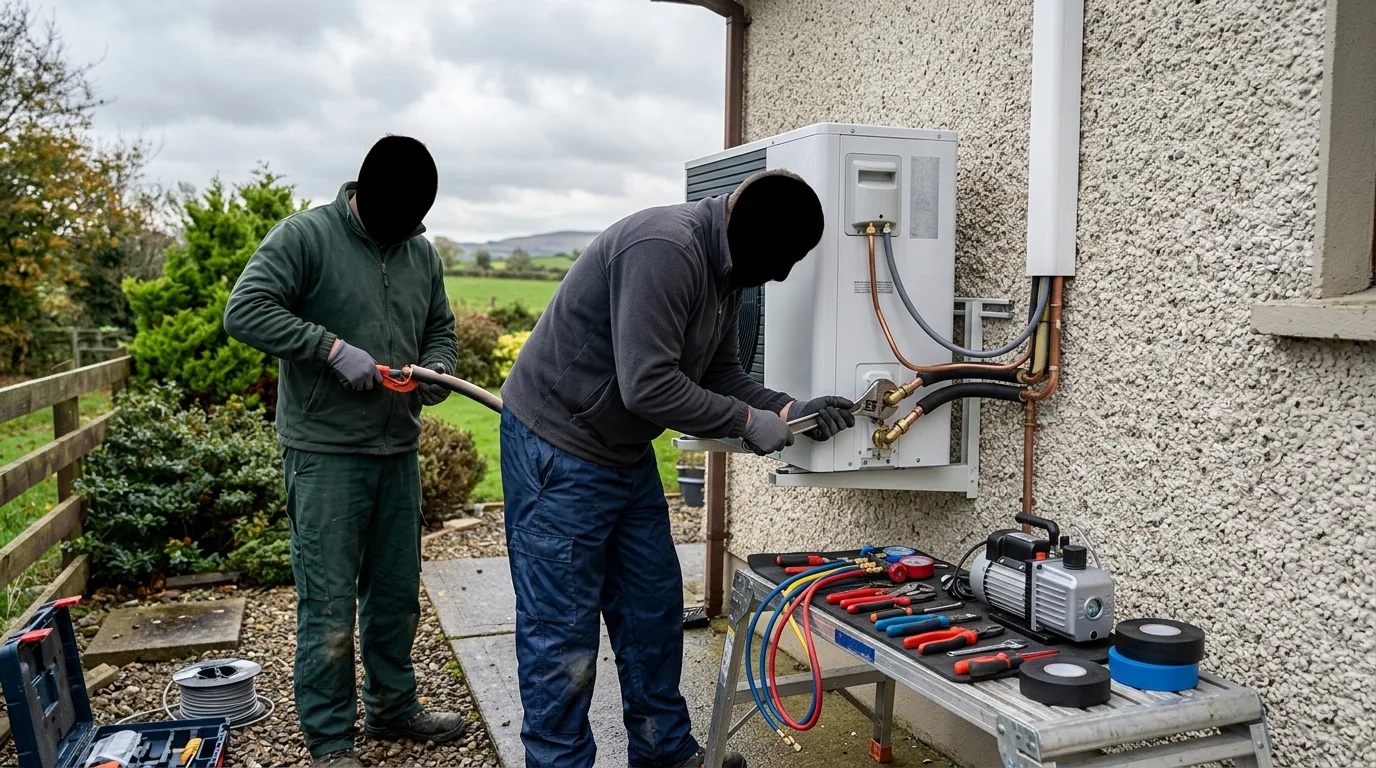
Installing a heat pump in an Irish home is a multi-stage project that typically takes 10–18 weeks from first contact to completion — though the actual on-site installation work is just 2–4 days. Understanding the full process helps you plan effectively, avoid delays, and ensure you get the most from your system from day one.
This guide covers every stage from the first phone call to your first heat pump electricity bill.
Stage 1: Initial Site Survey (Week 1–2)
The process begins with a site survey by an SEAI-registered heat pump contractor. This survey covers:
Building survey:
- Floor area and room dimensions
- Wall construction type (solid, cavity, hollow block)
- Existing insulation (attic, walls, floor)
- Window sizes and types
- Approximate air tightness
Existing heating system survey:
- Radiator sizes in each room
- Pipe sizes and circuit configuration
- Existing hot water cylinder (size, coil, condition)
- Boiler type and age
Site access assessment:
- Proposed outdoor unit location (clearances, neighbour proximity, planning considerations)
- Route for refrigerant lines from outdoor to indoor unit
- Location for indoor unit / cylinder
- Electrical consumer unit location and capacity
The site survey is typically free of charge (paid for as part of the overall quote). It takes 1–3 hours and is the basis for the installation proposal.
Action for homeowners: Prepare a list of questions and the SEAI application details. If you haven't already requested a smart meter from ESB Networks, do so during this phase — smart meter installation takes 4–8 weeks.
Stage 2: Technical Assessment (Week 2–4, if required)
If your home's BER is below B2, the SEAI technical assessment is completed at this stage. Either the installation contractor (if they are also a registered assessor) or an independent assessor visits your home and produces the Technical Assessment Report.
The assessor:
- Performs a detailed heat loss calculation (EN 12831)
- Designs the heating system to confirm SCOP 2.5+
- Identifies prerequisite works (if any)
The assessment takes 1–3 hours. The report is issued within 1–2 weeks. Cost: €200 (fully covered by SEAI grant).
Stage 3: SEAI Grant Application (Week 2–6)
You (or your contractor on your behalf) submit the SEAI heat pump grant application via the SEAI online portal (seai.ie/grants) before any work begins. Key information required:
- Your MPRN (Meter Point Reference Number — on your electricity bill)
- BER certificate number (or technical assessment report)
- Proposed contractor's SEAI National Register number
- Proposed heat pump model and specification
SEAI reviews the application and issues a grant approval letter. This typically takes 2–4 weeks.
Important: Do not sign a contract with your installer or allow any work to start until you have received the SEAI approval letter. Work started before approval disqualifies you from the grant.
Stage 4: Pre-Installation Works (Week 4–10)
If the technical assessment identified prerequisite works (attic insulation, cavity wall insulation, radiator upgrades), these should be completed before the heat pump installation. Common pre-installation works:
- Attic insulation: 1 day; book separately through an SEAI-registered insulation contractor
- Cavity wall insulation: 1 day; specialist injection contractor
- Radiator upgrades: Part of the heat pump installer's scope, often done during the main installation week
- Consumer unit upgrade (if required): Your electrician, before or during heat pump installation
Stage 5: Pre-Installation Preparation (Week 6–12)
Before the installation team arrives, you should:
Prepare the outdoor unit location:
- Clear any furniture, pots, or stored items from the proposed unit location
- Ensure 500 mm clearance on all sides and 1,000 mm in front of the proposed unit position
- Confirm access for drilling through the wall for refrigerant lines and water pipes
Prepare the indoor unit location:
- Clear the hot press, utility room, or mechanical room where the cylinder will go
- Confirm access for the installer (attic hatch clear, pipes accessible)
- Identify the proposed location for the new smart thermostat (typically in the hallway or main living room)
Arrange for an electrician: Your heat pump installer will typically include the electrical works in their scope. Confirm this — and confirm that the electrician is Safe Electric registered and will notify ESB Networks of the new circuit.
Stage 6: Installation Day(s) — The Actual Work (Day 1–4)
A standard air-to-water heat pump installation takes 2–4 days for a 2-person team.
Day 1: Outdoor unit and refrigerant works
- Outdoor unit delivered and positioned on wall bracket or floor stand
- Bracket secured to external wall
- Wall core drill for refrigerant line set
- Refrigerant lines (pre-charged line set or field-flared copper pipes) connected between outdoor and indoor units
- Outdoor unit weathered and protected
Day 2: Indoor unit, cylinder, and heating circuit
- Old boiler disconnected and removed (if applicable)
- Hot water cylinder delivered and positioned
- Indoor hydraulic module / cylinder installed
- Cylinder connected to heat pump refrigerant circuit (via heat exchanger coil)
- Heating circuit (radiators/UFH) connected to new manifold or existing pipework
- New thermostatic radiator valves (TRVs) fitted if upgrading
- Smart thermostat controller and outdoor sensor installed
Day 3: Electrical works and commissioning
- Dedicated electrical circuit from consumer unit to heat pump
- Smart thermostat wired in
- Controller programmed with: flow temperature settings, weather compensation curve, hot water schedule, heating schedule
- System filled, pressurised, and bled
- First test run — heat pump confirmed operational
- Smart app configured (Onecta, MELCloud, SmartThings, etc.)
Day 4 (if needed): Radiator upgrades, zone valves, tidying
- Any radiator upgrades completed
- Zone valves fitted
- All pipework insulated and clipped
- External refrigerant lines weatherproofed
- Installation waste removed
Stage 7: Commissioning
Commissioning is the process of configuring the system for optimal performance in your specific home. A thorough commissioning should include:
Flow temperature setting: The installer sets the maximum flow temperature based on your heating system's radiator sizes. If you have underfloor heating (35–40°C), large low-temperature radiators (45°C), or standard retrofit radiators (50–55°C), this setting is calibrated accordingly.
Weather compensation curve: The heat pump automatically adjusts flow temperature based on outdoor temperature. The installer sets the slope of this curve (how much the flow temperature increases as outdoor temperature falls). This is the most important single efficiency setting.
Hot water schedule: The cylinder heating schedule is set to run during night-rate electricity hours (typically 11pm–8am).
Heating schedule: Space heating is programmed into the heat pump controller (time-of-use scheduling aligned with your tariff and family routine).
System pressure: Heating circuit pressure set to the correct value (typically 1.0–1.5 bar when cold).
Stage 8: Post-Installation Survey and SEAI Grant Payment (Week 12–18)
After installation, SEAI (or their appointed representative) conducts a post-installation inspection to verify the works meet grant conditions. This typically involves:
- Confirming the installed heat pump model matches the grant application
- Visual inspection of the installation quality
- Confirming commissioning documentation is complete
After the inspection passes, SEAI pays the €6,500 grant directly to your contractor. Your contractor deducts this from your final invoice, and you pay only the balance.
What to Expect in the First Winter
Your first heating season with a heat pump will involve some adjustment:
- Lower room temperatures initially feel different — heat pumps maintain a steady 19–21°C rather than heating to 22°C and dropping
- The system runs for more hours — this is normal and more efficient than short bursts at high temperature
- Check your smart app monthly — verify your SPF (seasonal performance factor) is in the expected 3.0–4.0+ range
After the first season, your installer should visit for a 6-month or annual service to check refrigerant pressure, clean filters, verify settings, and confirm the system is running optimally.
Get 3 free heat pump quotes — free and no obligation.
Frequently asked questions
How long does heat pump installation take in Ireland?
The actual installation work takes 2–4 days for a 2-person team. However, the total project timeline from first contact to completion (including site survey, SEAI grant application, technical assessment if needed, and any pre-installation insulation works) is typically 10–18 weeks.
Do I need to be home during the heat pump installation?
You should be available at least on Day 1 (to confirm access and answer questions) and for commissioning (to learn the system controls). For the other days, the installer team can typically work independently once access is established. Confirm arrangements with your installer.
What disruption should I expect during installation?
There will be noise from drilling (particularly for the wall core through which refrigerant lines pass), the sound of power tools for 2–3 days, and temporary loss of heating and hot water for 1–2 days while the old boiler is disconnected and the new system is commissioned. The house will be habitable throughout.
When does SEAI pay the grant after installation?
SEAI pays the grant 4–8 weeks after the post-installation inspection. The grant is paid directly to your contractor, who deducts it from your final invoice. The contractor receives the grant payment after the inspection passes.
What is commissioning and why is it important?
Commissioning is the process of configuring the heat pump system for optimal performance in your specific home — setting flow temperatures, weather compensation curves, heating and hot water schedules, and verifying all components are working correctly. Proper commissioning can improve real-world SCOP by 0.3–0.6 compared to a poorly commissioned system.
Sources & further reading
- SEAI Heat Pump Grant Application Process — Sustainable Energy Authority of Ireland
- ESB Networks Smart Metering — ESB Networks